Hamptons Healthy Banana Bread Recipe:
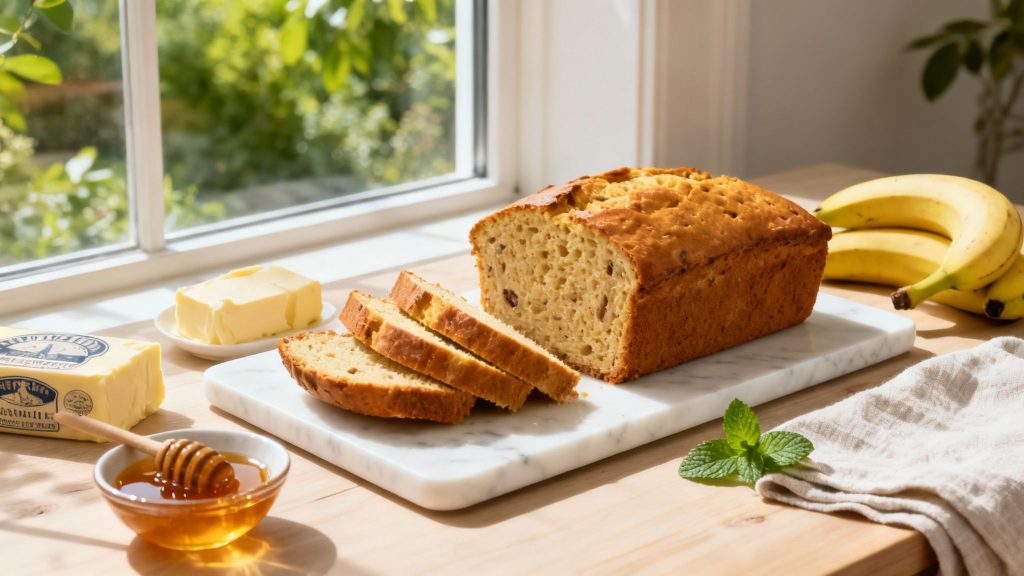
This isn’t just another banana bread recipe. It is a guide to creating a moment of pure, simple luxury—the kind that fits perfectly with a slow weekend morning in The Hamptons. This article will show you how to take this humble classic and turn it into something truly special, starting with beautiful ingredients like farm-fresh eggs and rich European butter.
Crafting the Perfect Hamptons Banana Bread
There’s a certain kind of comfort baked into every slice of banana bread. It’s a smell that instantly makes a house feel like a home, promising something simple and deeply satisfying. And while it feels like a recipe that’s been around forever, its story is really one of clever resourcefulness.
The banana bread we know and love today really took off during the Great Depression. It was a time when wasting food was out of the question, so those overripe, spotty bananas got a second life. The rise of chemical leaveners like baking soda also made these “quick breads” a go-to for home bakers. If you’re curious, you can explore more about its unique history and how it became such a fixture in our kitchens.
Today, this bake has moved far beyond its frugal beginnings and has become a canvas for culinary creativity. The approach here is all about elevating that experience by focusing on incredible ingredients and finessing the technique. It’s not about making things complicated; it’s about making smart, deliberate choices that deliver a far superior loaf.
The Philosophy of Elevated Baking
What truly separates a good banana bread from a memorable one? It’s all in the details. The small things add up to create something spectacular, and it all begins with building flavor from the ground up.
Here’s the philosophy:
- Ingredient Sourcing: This is where the magic starts. Think beyond the big-box grocery store. We’re talking about local honey for a delicate, nuanced sweetness and high-fat European butter that brings an unparalleled richness and tender crumb.
- Technique Mastery: It’s one thing to follow a recipe, but it’s another to understand why you’re doing each step. You will learn how to mash your bananas for the perfect texture (not too smooth!) and, crucially, how to mix the batter just enough to avoid a tough, dense loaf.
- A Mindful Process: Baking should be a joy, a moment to slow down. It is encouraged to see this as a relaxing, almost meditative practice. Take your time and appreciate the craft of making something wonderful from scratch.
This recipe is more than a set of instructions; it’s designed to give you the confidence to understand the art behind a truly unforgettable loaf of banana bread. It’s about creating something that feels both wonderfully familiar and exceptionally refined.
Before we dive into the step-by-step process, let’s quickly summarize the key components that make this recipe stand out. This table highlights the specific choices that elevate a standard loaf into something worthy of a weekend in The Hamptons.
Key Elements for an Exceptional Banana Bread
| Component | Hamptons-Inspired Choice | Impact on Your Final Loaf |
|---|---|---|
| Bananas | Very ripe, with heavy brown/black spots | Maximizes sweetness and moisture, reducing the need for excess sugar. |
| Butter | High-fat (82% or higher) European-style | Creates a richer flavor, a more tender crumb, and a beautifully browned crust. |
| Flour | Unbleached all-purpose or a blend with cake flour | Yields a softer, more delicate texture than standard bleached flour. |
| Sweetener | A mix of brown sugar and local honey or maple syrup | Adds layers of complex flavor beyond simple sweetness. |
| Technique | Gentle, minimal mixing (“just combined”) | Prevents gluten overdevelopment, ensuring the loaf is light and tender, not tough. |
By keeping these core principles in mind, you’re already on your way to baking a banana bread that’s incredibly moist, fragrant, and absolutely perfect for any occasion—whether it’s a special brunch or just a quiet Tuesday morning.
The Hamptons Banana Bread Recipe, Step by Step
There’s something deeply satisfying about baking a truly exceptional banana bread. It’s a simple pleasure, yes, but when you get the technique just right, it transforms into something special. This is more than just a recipe; it’s a guide to creating a loaf that embodies the easy, elegant spirit of a weekend in The Hamptons.
Let’s start by getting our ingredients in order. Baking is a science, and precision is your best friend. Weighing your dry ingredients is always the gold standard. If you’re used to measuring by volume, a good chart for cups to grams conversions is an invaluable tool to have bookmarked.
Preparing Your Foundation
First things first, get your oven preheating to 350°F (177°C). Go ahead and move an oven rack to the lower third position. This is a small but crucial trick—it keeps the top from getting too dark before the center has a chance to bake through.
Now, grab your 9×5-inch loaf pan and grease it well with butter or a good nonstick spray. A properly prepped pan is the secret to a clean release, preserving that beautiful, golden-brown crust you’re working towards.
In a medium bowl, it’s time to bring together the dry ingredients. Don’t just dump them in; whisking them together aerates the flour and ensures the baking soda and spices are evenly distributed. This is key for a consistent rise and flavor in every single slice.
Your Dry Ingredient Checklist: banana bread recipe:
- 2 cups (250g) unbleached all-purpose flour
- 1 teaspoon baking soda
- 1/4 teaspoon fine sea salt
- 1/2 teaspoon ground cinnamon (for that subtle warmth)
Give them a good whisk until everything looks uniform, then just set that bowl aside for a moment.
Creating the Wet Mixture
In a larger bowl, we’re going to cream the butter and sugar. This is where the magic really begins to happen, as it’s the step responsible for creating a light, tender crumb. With an electric mixer (a stand or handheld model works perfectly), beat 1/2 cup (113g) of softened, high-fat unsalted butter with 3/4 cup (150g) of packed light brown sugar.
Let the mixer run on medium-high for about three minutes. You’ll see the mixture transform, becoming noticeably paler and fluffier. You’re literally whipping air into the base of your batter, which pays off big time in the final texture.
With the mixer still on, add two large, room-temperature eggs, but add them one at a time. Wait until the first is fully mixed in before you add the second. Eggs that aren’t cold emulsify into the batter so much better, creating a smoother, more stable structure.
Pro Tip: If you forget to set the eggs out, just place them in a bowl of warm (not hot!) water for about 5-10 minutes. It brings them right up to temperature without any risk of cooking them.
Once the eggs are incorporated, it’s time for the star players. Gently beat in 1/3 cup (80g) of full-fat sour cream or Greek yogurt, 1 and 1/2 cups (345g) of very well-mashed ripe bananas, and 1 teaspoon of pure vanilla extract. Keep the speed on low here; you just want to combine everything.
Bringing the Batter Together: Banana Bread Recipe
Now for the final, most delicate step: uniting the wet and dry ingredients. Pour the flour mixture into the large bowl with the wet batter. On the mixer’s lowest speed or using a spatula, mix just until you no longer see streaks of flour.
Seriously, do not over-mix. It’s one of the most common mistakes. Overworking the batter develops the flour’s gluten, leading to a tough, rubbery loaf instead of the melt-in-your-mouth crumb we want.
Pour the thick, beautiful batter into your prepared pan and use a spatula to smooth the top. It’s ready for the oven. Bake for 60–65 minutes. A great little trick is to loosely tent the loaf with aluminum foil about halfway through baking if you notice the top browning too quickly.
You’ll know it’s done when a wooden toothpick or cake tester inserted into the center comes out clean. Let the bread cool in the pan for a solid hour before you even think about turning it out onto a wire rack to cool the rest of the way. Patience here is key.
Elevating Your Loaf with Sophisticated Variations: Banana Bread Recipe:
Once you have the classic banana bread down pat, the real creativity begins. A simple, perfectly baked loaf is a beautiful thing on its own, but a few inspired additions can transform it into something truly special—perfect for an elegant afternoon treat or a weekend brunch in The Hamptons.
This isn’t about throwing everything in the bowl. It’s about thoughtful pairings that complement, rather than overwhelm, the sweet, delicate flavor of the banana. Think of your base recipe as a blank canvas, waiting for a touch of artistry.
The Warmth of Aged Rum
For a truly luxurious twist, a splash of aged rum works wonders. It introduces a sophisticated depth and warmth, with notes of molasses and oak that pair exquisitely with brown sugar and ripe bananas. This small addition creates a complex undertone that feels both cozy and refined.
All you need to do is add two tablespoons of a quality aged rum right alongside your vanilla extract. That’s it. This simple move is potent enough to make a noticeable impact, lending the loaf a character that feels perfectly at home at a gathering in The Hamptons.
A Nutty, Toasted Addition
Few things beat the textural contrast of nuts in a soft, moist loaf, and toasted pecans or walnuts are a classic for good reason. It is critical to toast the nuts first. This step awakens their natural oils, unlocking a deep, rich flavor that raw nuts just don’t have.
- Start by spreading 3/4 cup of chopped pecans or walnuts on a baking sheet.
- Pop them into your preheated 350°F (177°C) oven for 5-7 minutes. You’ll know they’re ready when the kitchen fills with a wonderful, nutty aroma.
- Let them cool completely before adding them to the batter. Then, gently fold them in as the very last step.
Over-mixing is the enemy of a tender crumb, a point that becomes even more critical when you’re folding in additions like nuts.
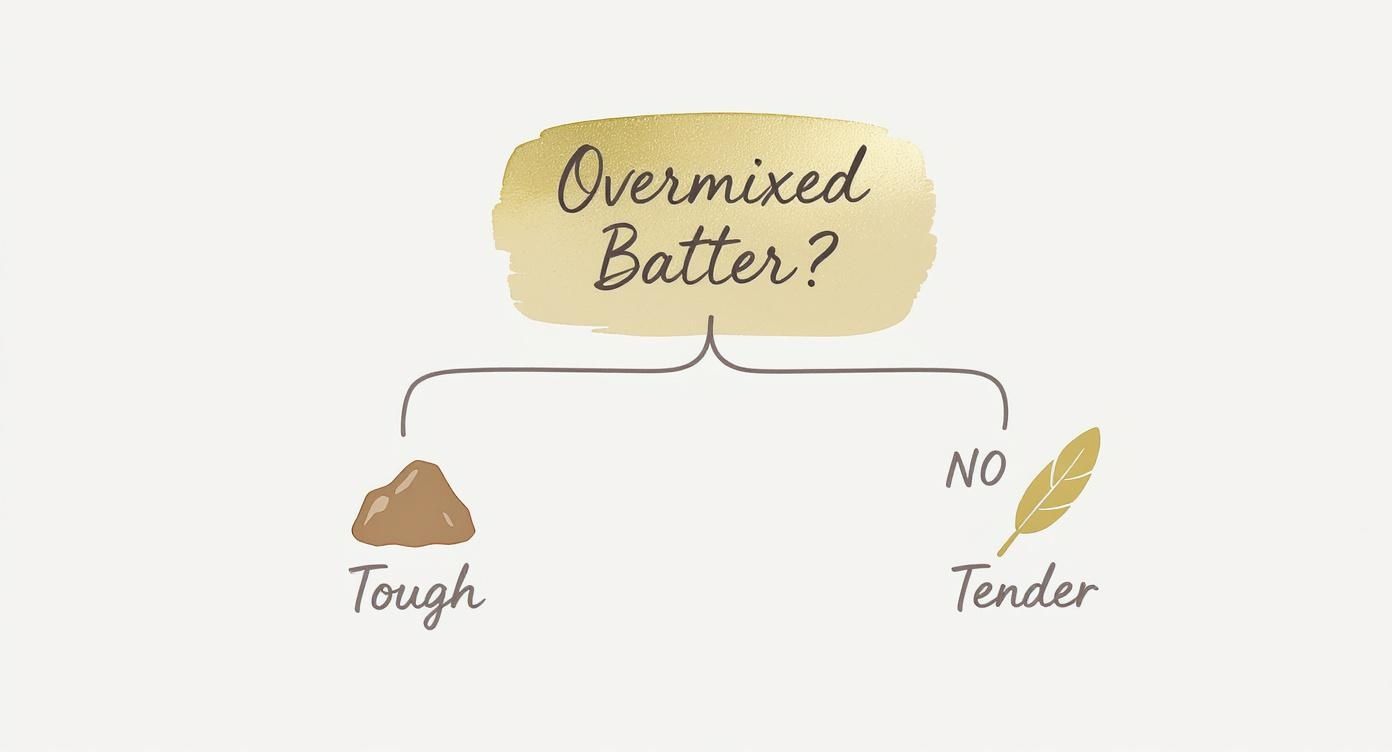
As the infographic shows, a gentle hand is what separates a beautifully tender loaf from a tough, disappointing one. It’s all in the technique.
A Flawless Gluten-Free Adaptation
Baking a gluten-free banana bread that doesn’t taste like a compromise is tricky, but this adaptation delivers a moist, tender crumb that stands up to the original. The secret weapon? A high-quality, finely ground almond flour blend.
To make the swap, simply replace the 2 cups (250g) of all-purpose flour with 2 ½ cups (280g) of fine almond flour. You’ll also want to add ½ cup (60g) of tapioca starch, which helps bind the loaf and gives it a lighter, less dense structure.
Almond flour is naturally moist and brings its own subtle, nutty flavor to the party, making it an ideal choice. With this simple switch, everyone at the table can enjoy a delicious slice.
It’s no surprise that this humble bake has such universal appeal. It’s consistently the number one most-searched-for baking recipe online, with interest skyrocketing in 2020 as people everywhere sought comfort in their kitchens. You can dive deeper into its surprising popularity and history over at lianaskitchen.co.uk.
Secrets to a Perfectly Moist Crumb Every Time
Anyone can make banana bread, but the true mark of a great one comes down to texture. Flavor is one thing, but that perfectly moist, tender crumb is what makes it memorable. A dry, crumbly loaf is always a letdown. Getting that ideal texture isn’t about luck; it’s about a few key techniques that separate a decent loaf from an unforgettable one.
It all starts with the bananas, and this is non-negotiable. Yellow bananas with a few polite brown specks are not ready. Not even close. You need bananas that are almost unpleasantly overripe—deeply speckled, nearly black, and very soft. These are bursting with moisture and concentrated sugars, giving you a depth of flavor and a dense, tender crumb that younger fruit just can’t deliver.
Choosing Your Fat and Dairy
With your bananas sorted, the next choice is your fat. This decision single-handedly shapes the flavor and final feel of your loaf, and bakers have strong opinions for good reason. Each option brings something different to the table.
- Melted Butter: Using high-quality melted butter offers a rich, almost savory depth. It delivers that classic, comforting flavor and a wonderfully tender crumb.
- Neutral Oil: If you prefer a slightly lighter loaf that stays moist for days, a light oil like canola or grapeseed is the way to go. It really lets the banana flavor shine through.
The other little secret is adding a tangy dairy element. A spoonful of full-fat sour cream or Greek yogurt is a brilliant move. It adds a subtle tang that cuts through the sweetness beautifully, but more importantly, the acid tenderizes the gluten. The result is an incredibly soft, delicate crumb. It’s a small addition that makes a huge difference.
The Most Important Rule in Mixing
This is the final, and most critical, step to guaranteeing a moist loaf: how you mix the batter. It’s so easy to get this wrong, and a moment of over-enthusiasm can undo all your good work. You absolutely must fight the urge to mix until everything is perfectly smooth.
When you bring the wet and dry ingredients together, stir them only until the last streaks of flour have disappeared. That’s it. Lumps are fine—in fact, they’re a good sign. Over-mixing develops gluten, which is what you want for a chewy artisan sourdough, not a tender quick bread. Too much stirring will leave you with a tough, dense, and disappointingly dry loaf.
For a truly elegant bake—the kind you’d proudly serve at a weekend brunch in The Hamptons—a light hand is everything. Just remember: the less you mix, the more tender and moist your banana bread will be. It’s the simplest rule, but it has the biggest impact.
Serving and Plating for a Hamptons Gathering
A beautifully baked loaf is only half the story. The real magic happens in the presentation—that’s what turns a simple, comforting treat into a memorable experience. Serving your banana bread recipe with intention elevates it from a humble bake to the centerpiece of a chic brunch or afternoon tea, fitting perfectly with the relaxed elegance of The Hamptons.
The idea is to create pairings that complement the bread’s warm, sweet notes without overwhelming them. When you’re working with high-quality ingredients, less is almost always more.
Elegant Pairing Suggestions
Always think in terms of texture and temperature. A slice of banana bread, still slightly warm from the oven, is divine on its own, but it becomes truly special when you add something cool and creamy to the mix.
These pairings are always a success:
- Crème Fraîche and Honey: A simple dollop of tangy crème fraîche is brilliant for cutting through the sweetness. A slow drizzle of local honey over the top adds a delicate floral note that beautifully echoes the bread’s own flavors.
- Artisanal Ice Cream: If you’re aiming for a more decadent dessert, serve a thick slice next to a scoop of really good vanilla bean or salted caramel ice cream. The contrast of warm bread and cold cream is just perfect.
- Espresso Butter: This is a fantastic option. Just whip some high-fat, softened butter with a pinch of finely ground espresso. Those slightly bitter coffee notes create an incredible contrast with the sweet banana.
These simple additions transform a slice into a properly composed dish. And if you’re giving a loaf as a gift, the presentation is just as crucial. For an elevated touch, consider placing it in one of those gorgeous gourmet gift boxes to make it feel truly special.
Plating with Sophisticated Simplicity
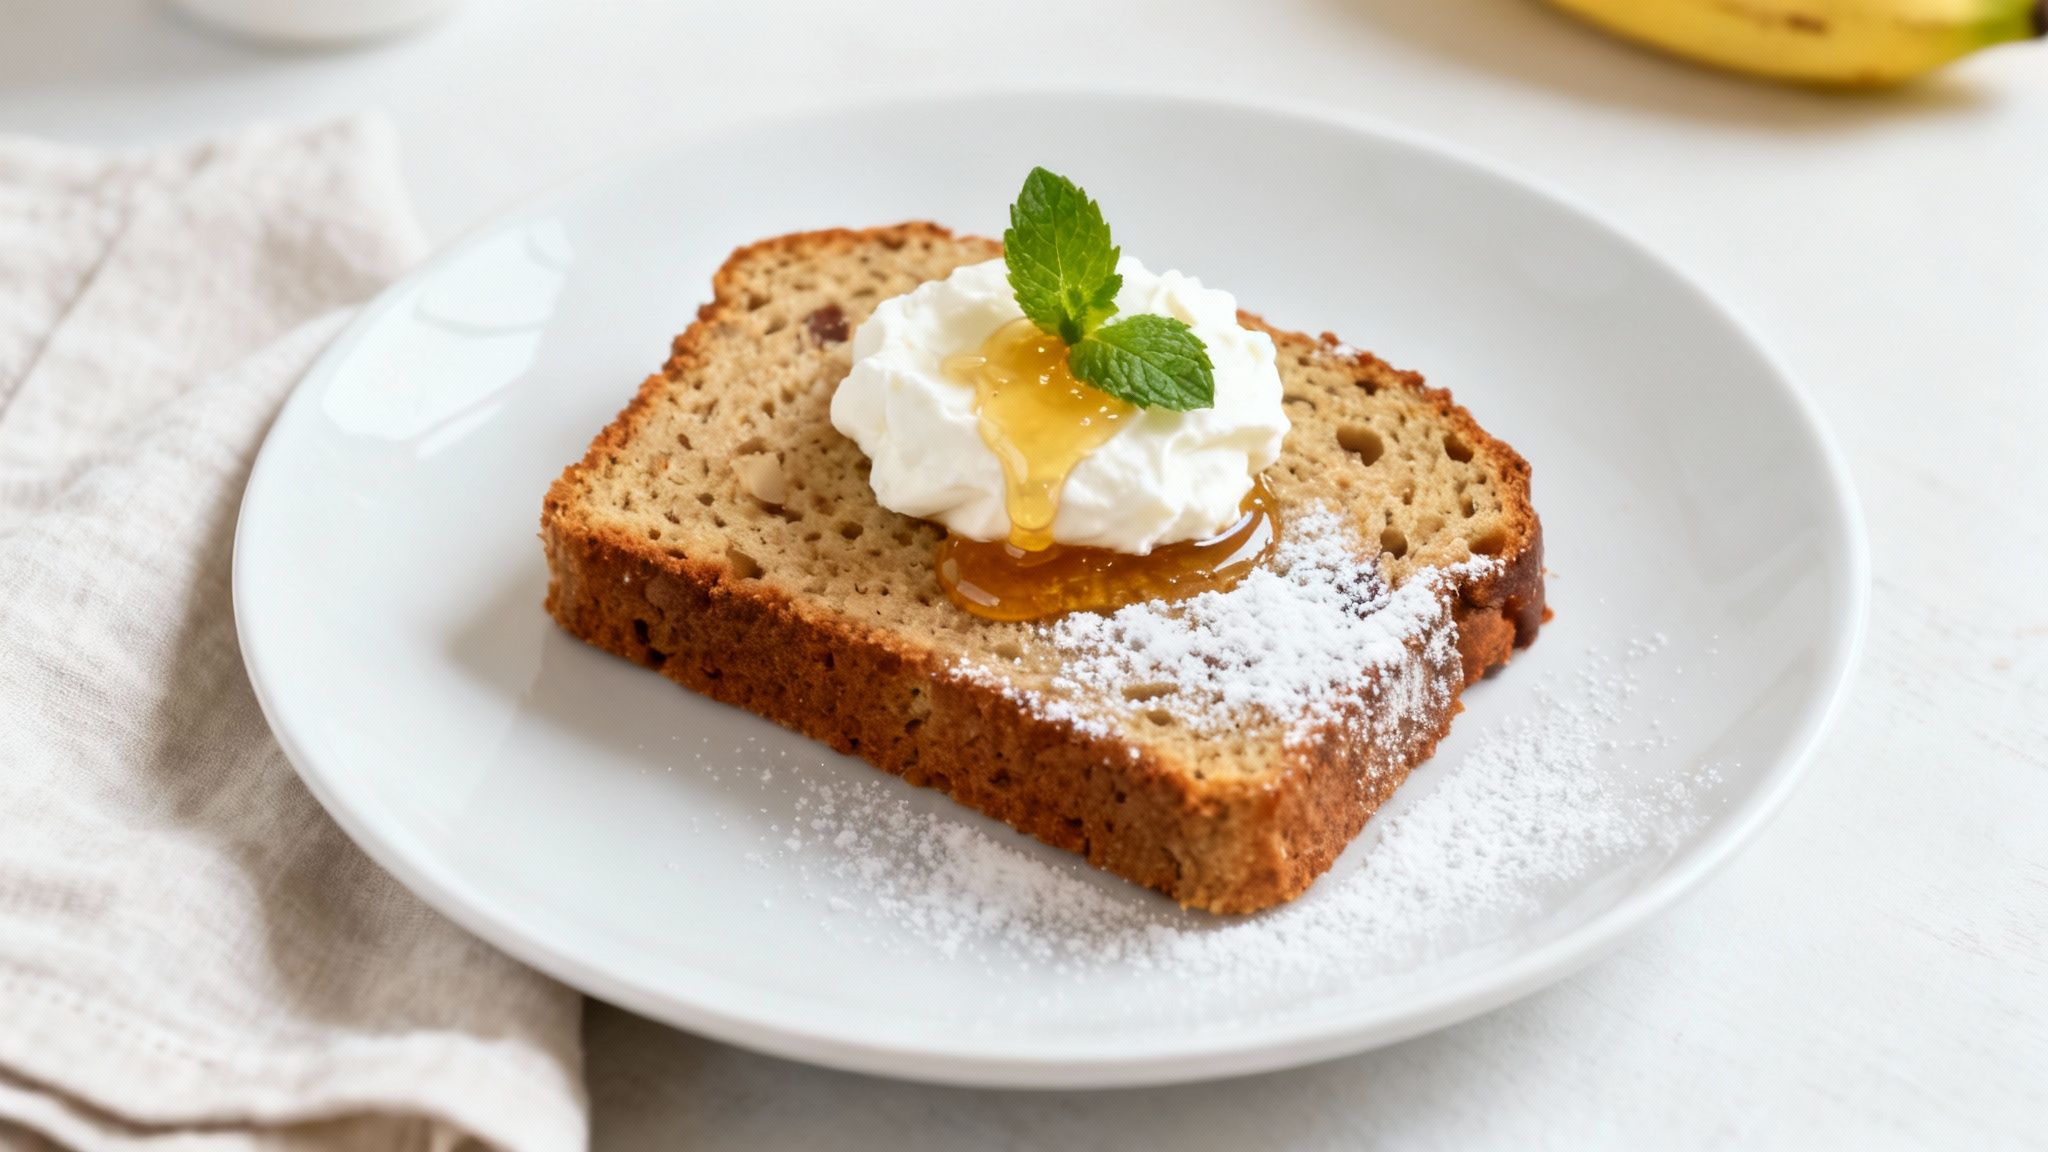
You don’t need to be a pastry chef to plate beautifully. The key is restraint. Focus on clean lines and simple garnishes that add just a hint of color and freshness.
A minimalist approach often makes the biggest impact. Let the quality of the bread speak for itself, using garnishes only to enhance its natural appeal.
Try a light dusting of powdered sugar over just one corner of the slice. Or, place a single, perfect mint sprig right next to your dollop of cream. For a bit of texture, a little sprinkle of toasted, chopped pecans works wonders. By focusing on these small details, you present your banana bread not just as food, but as a genuine moment of thoughtful hospitality.
Common Questions About This Banana Bread Recipe
Even the most seasoned bakers run into little questions when perfecting a classic like banana bread. It’s those small details that often elevate a loaf from simply good to truly memorable. Let’s walk through some of the most common queries, ensuring your baking day is as relaxed as a quiet morning in The Hamptons.
Getting these nuances right is what separates a decent banana bread from a spectacular one.
Can I Use Frozen Bananas for This Recipe?
Not only can you, but it is highly recommended! Freezing overripe bananas is the perfect way to have them ready whenever the craving strikes.
The key is to let them thaw completely on the counter before you start mixing. You’ll see a pool of brownish liquid form as they defrost—do not discard it! That liquid is pure, concentrated banana essence. Make sure you add all of it, along with the mashed bananas, into your batter. It’s a secret weapon for an intensely flavorful and incredibly moist loaf.
How Can I Tell if My Banana Bread Is Fully Cooked?
The old-fashioned toothpick test is still the most foolproof method. You’ll want to insert a wooden toothpick or a thin skewer right into the thickest part of the loaf. If it comes out clean, or with just a few dry crumbs attached, your bread is ready.
If you see any wet batter clinging to the toothpick, it needs more time. Pop it back in the oven and check again in five-minute intervals. Beyond the toothpick, look for a deep, golden-brown crust and watch for the edges to start pulling away just slightly from the sides of the pan. That’s a great visual cue that the structure is set.
Ovens can be fickle, so never trust the baking time alone. The toothpick test is your most reliable friend in the kitchen—it’s the only way to guarantee you won’t have a gooey, undercooked center.
What Is the Best Way to Store Homemade Banana Bread?
Patience is the first step here. You have to let the loaf cool completely on a wire rack. If you wrap it while it’s still warm, you’ll trap steam and end up with a soggy crust.
Once it’s at room temperature, here are your best options:
- On the counter: For keeping it fresh for a few days, wrap the loaf snugly in plastic wrap or seal it in an airtight container. It will stay perfectly moist for up to four days.
- In the freezer: If you want it to last longer, freezing is the way to go. It is recommended to wrap individual slices tightly in plastic wrap, then a layer of foil. You can also freeze the whole loaf this way. It keeps beautifully for up to three months. Just let it thaw on the counter when you’re ready for a slice.
For more articles on luxury living, from culinary arts to high society, explore Social Life Magazine. Discover the people, places, and experiences that define upscale living at https://www.sociallifemagazine.com.
Author
Written by
Recent Posts

Hamptons Private Estate Events: Inside the Parties You Were Not Invited To

Polo Hamptons 2026: The Field Guide to the Season’s Loudest Weekend

Hamptons Brand Activations: Get Absorbed, Not Plastered Over

The Hamptons Summer Social Scene: How the Season Gets Built
A Friendship with Purpose: From Palm Beach to Versailles
Categories
- Art
- Articles
- Business of Luxury
- Celebrities
- Entertainment
- Events
- Fashion
- Fashion & Style
- Featured
- Finance
- Food, Spirits, Wine
- Hamptons
- Hamptons Celebrities
- Hamptons Lifestyle
- Health
- Health & Beauty
- Lifestyle
- Luxury Lifestyle
- Press
- Profiles
- Real Estate
- Social Scene
- Technology
- The Chronicles
- Travel
- Uncategorized
- Weddings