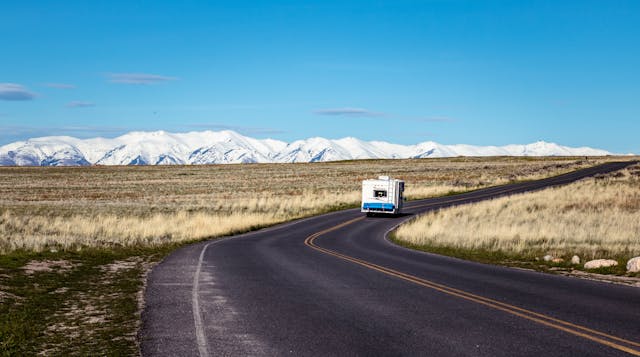
Putting your RV into storage for months feels like leaving a friend behind. Do it right, and you’ll hit the road without a hitch. Cut corners, and you’ll come back to flat tires, dead batteries, and regrets.
Choose Your Battleground Wisely
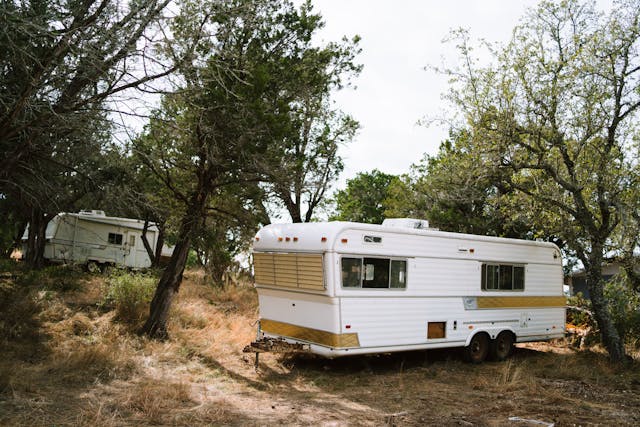
The first step to stress-free storage is picking the right spot. That’s where Sparefoot RV parking comes in. Whether you need a simple outdoor lot or a secure indoor facility, finding a reliable place for your rig sets the foundation for everything that follows. A good storage spot makes all the difference when it comes to protecting your investment.
- Indoor vs. Outdoor: If you can afford it, indoor storage is the gold standard. It protects the roof, seals, and paint from UV rays, hail, and snow load. However, if you’re storing outdoors, location is everything.
- Avoid the Trees: It’s tempting to park under a big shade tree, but you’ll pay for it later. Sap damages paint, falling branches can cause dents, and leaves will clog your roof vents and air conditioner.
- Surface Matters: Look for a storage lot with a stable surface. Gravel is okay, but concrete or asphalt is best to prevent moisture from wicking up into the tires and chassis.
- Consider Security: Look for facilities with controlled access, fencing, and good lighting. A little extra peace of mind goes a long way when you’re miles away from your investment.
Master the Art of Pest Prevention
If there’s one golden rule of RV storage, it’s this: if there’s a way in, a mouse will find it. Rodents love soy-based wiring and cozy insulation. Here’s how to keep them out.
- Seal the Gaps: Grab a flashlight and some steel wool. Mice squeeze through dime-sized holes, so stuff steel wool around pipes and wires, then seal with expanding foam.
- Block Big Openings: Cram steel wool into exhaust pipes, generator outlets, and furnace vents. Cover with mesh so air flows, but critters don’t.
- Natural Deterrents: Skip toxic baits. Use peppermint oil on cotton balls or ultrasonic repellers inside cabinets and drawers. Refresh them when you visit.
Tires: Don’t Let Them Become Square
Tires get ignored more than just about anything else during storage, but replacing a set costs a fortune. Months of sitting in one spot create flat spots, and the sun slowly eats away at the rubber.
- Relieve the Pressure: If you’ve got jack stands, lift the RV enough to take the weight off the tires. Your suspension and your wallet will thank you.
- If You Can’t Lift It: No jack stands? Inflate tires to the max pressure listed on the sidewall. It helps them hold their shape. Just remember to drop it back down before you hit the road.
- Cover Up: Buy proper UV-resistant tire covers. They block the sun and keep the sidewalls from cracking. Skip black plastic bags, as they trap heat and do more harm than good.
- Move It: If you visit the storage lot every month or two, roll the RV forward or backward a few feet. Changing the contact point makes a huge difference.
The Battery: Keep the Heart Beating
Nothing kills the excitement of a retrieval day faster than turning the key and hearing a hollow click. Batteries naturally self-discharge over time, and if they sit completely dead, sulfation occurs, permanently reducing their lifespan.
- Disconnect or Remove: At the very least, disconnect the negative terminals on both your chassis battery and your house batteries to prevent parasitic drains (like the propane detector or radio memory) from killing them.
- Trickle Charge: The best method is to use a “smart” battery maintainer (trickle charger). If you have shore power at your storage spot, plug the maintainer in. If not, remove the batteries and take them home with you. Store them on a piece of wood (never directly on concrete) in a cool, dry place, and top off the charge every 90 days.
- Check Water Levels: If you have flooded lead-acid batteries, check the electrolyte levels before storing. Top them off with distilled water to ensure they don’t dry out.
Plumbing: The Freeze Factor
Even if you don’t live where it freezes, never leave water sitting in the lines for months. Stagnant water grows bacteria, and one unexpected cold snap can crack valves or split your water heater.
- The Blow-Out Method: Drain the fresh tank and water heater, then use an air compressor (30-40 PSI) to push every drop out of faucets, shower, and toilet. It’s the surest way.
- Antifreeze Is Your Friend: Pour a few cups of non-toxic RV antifreeze into each drain trap to protect the p-traps. Toss a gallon down the black and gray tanks too, as it keeps valves lubricated and waste from turning into concrete.
- Fridge Tip: Got a residential fridge with an ice maker? Shut off the water line and purge it completely. A slow leak inside a closed fridge is a disaster waiting to happen.
Preserve the Interior Environment
Your RV’s interior is full of fabrics, wood, and electronics, all of which hate humidity. Open the door months later, and you want to smell nothing at all.
- Moisture Control: Drop a few DampRid buckets throughout the rig. They soak up excess moisture and keep mold off your mattress and condensation off the windows.
- Fridge Protocol: Clean the fridge, prop the doors open with a towel, and toss in a box of baking soda. Close it tight, and you’ll come back to a musty smell that’s a nightmare to kill.
- Cover the Windows: Hang old bedsheets or use reflective covers. UV rays will fade your upholstery and crack your dash if you let them.
A Deep Clean and A Final Walkthrough
You wouldn’t store dirty laundry for six months, so don’t store a dirty RV. Food crumbs are an invitation for pests, and grime left on surfaces can become permanent stains.
- Empty Everything: Remove all food, toiletries, linens, and any paper products. Even sealed boxes of crackers can attract rodents. Leave the pantry doors open to allow air circulation.
- Wash and Wax: Give the exterior a thorough wash and a coat of wax before covering it. This removes corrosive bird droppings, tree sap, and road grime that could etch the clear coat over time.
- The Latch Check: Walk around the RV and ensure every window, roof vent, and storage compartment is latched and locked. A partially open vent during a windstorm can rip the lid off, allowing rain to pour in.
Storing your RV right is an act of love; a few hours of work now saves you thousands in repairs later. Do it well, and when you return, you just air up the tires and go.
Author

Written by
Recent Posts
Effortless Pickup & Delivery Dry Cleaning in the Hamptons
What Buyers Notice First When Touring a Home
What Goes into Making a Home Feel Well-Cared-For from the Outside
7 Smart Ways To Maintain An RV During Extended Storage Periods
Reasons Why Birth Injuries are More Common than You Think
Categories
- Art
- Articles
- Beauty & Skincare
- Celebrities
- Celebrities|Entertainment
- Celebrities|Television
- Celebrities|The Chronicles
- celebrities|the-archive
- Chronicles
- Entertainment|Culture
- Event Photos
- Events
- Fashion
- Fashion & Style
- Featured
- Food & Beverage
- Food, Spirits, Wine
- Hamptons
- Hamptons Celebrities
- Hamptons Celebrities|Celebrities|The Chronicles
- Health
- Health & Beauty
- Lifestyle
- Luxury Lifestyle
- Press
- Profiles
- Real Estate
- Technology
- The Chronicles
- Travel
- Uncategorized
- Weddings