Imagine a kitchen ceiling that has decided to mimic a waterfall or a moist carpet when you wake up. It’s the sort of morning that drains your bank account and spoils your entire week. Plumbing disasters are typically the result of minor problems that were neglected for much too long, despite the common belief that they are just the product of bad luck. Your best line of defense against disaster is a routine home plumbing inspection. If you’re experiencing a gush rather than a drip, you may need to locate a qualified fuseservice.com/plumber-san-jose right away. For the rest of us, however, the best thing you can do this season is to keep ahead of the game by using a proper plumbing checklist for homeowners.
Check for Visible Leaks and Water Damage
Using your eyes and nose is the first step in any plumbing inspection checklist. I’ve discovered that mold frequently shows up as a musty odor long before a black patch appears on the drywall. Using a powerful flashlight, search beneath each sink in your home.
Instead of focusing only on current drips, look for the “ghosts” of past leaks. This can include green or white mineral deposits around pipe joints, bent cabinet bottoms, or peeling contact paper. An early indication that a joint is failing is these crusty deposits. If there is bubbling paint on the wall or a tea-colored ring-shaped stain on the ceiling, a concealed leak has already started its damaging work.
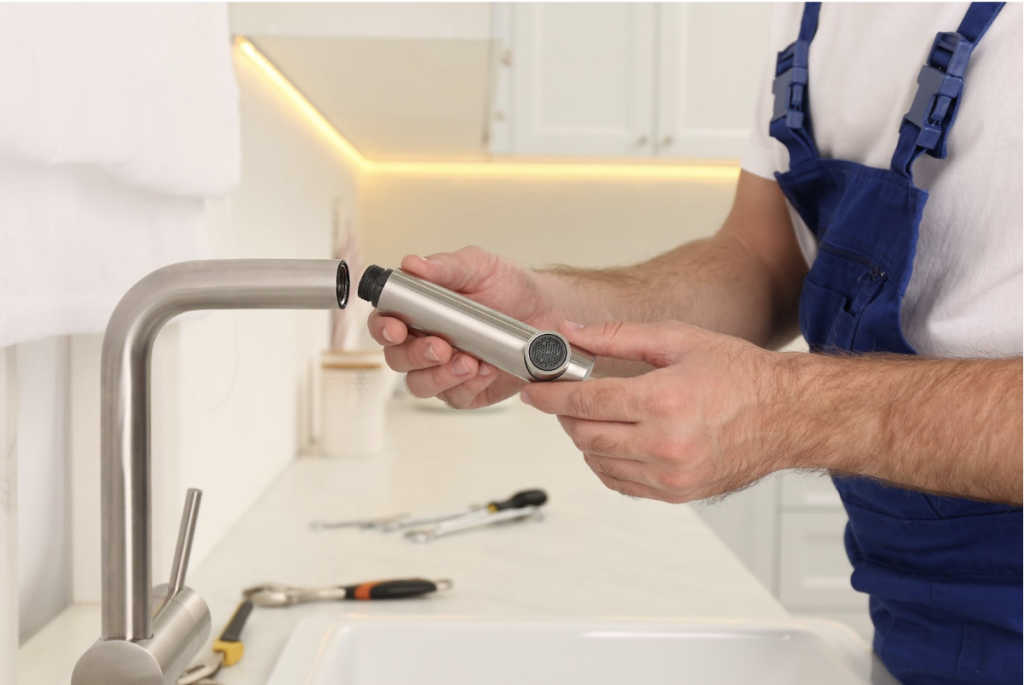
Inspect Faucets and Fixtures
Go through the house and turn every single faucet on and off. You’re looking for smooth operation. If a handle feels crunchy or stiff, the internal cartridge is likely corroded. But here’s the thing: also look at the aerator, the little screen where the water comes out. If the flow is uneven or spraying sideways, it’s likely clogged with calcium.
Check the showerhead while you’re at it. A prolonged period of low pressure may indicate a more significant problem with the supply lines, but if it’s covered in white sludge, you can soak it in vinegar for a short while to avoid purchasing a new one.
Test Drains and Toilets
In the end, slow drains are a “tomorrow problem” that turns into a “today disaster.” After filling your tubs and sinks halfway, turn off the water. You’re in luck if the water forms a powerful vortex and swiftly vanishes. There is a blockage developing if it gurgles or persists.
Put a few drops of blue or red food coloring into the tank (not the bowl) for toilets. Don’t flush and wait for about 20 minutes. If the water in the bowl turns color, then your flapper valve is leaking. Without making any noise, this silent water thief can raise your monthly bill by $50. Check the toilet’s base as well; if it wobbles when you push it with your knee, the wax ring may be damaged, which could result in floor rot.
Examine Water Pressure and Flow
High water pressure feels great in the shower, but it’s absolute murder on your pipes and appliances. Most people don’t realize that standard residential plumbing is designed for $40–80$ PSI. Anything higher can blow out your dishwasher hoses or cause “water hammer,” that loud banging sound when you turn off a tap.
In that case, it’s recommended to buy a cheap pressure gauge from a hardware store. Hook it up to your outside hose bib and check the reading. If it’s screaming past $80$ PSI, your pressure-reducing valve (PRV) has probably failed. It’s a small part to replace, but ignoring it is like redlining your car’s engine every time you drive to the grocery store.
Review Water Heater Condition
Your water heater is the most expensive unit in your home. The average tank lasts eight to twelve years. If the sticker’s manufacture date is over ten years, then you’re definitely running out of time. Look for any signs of dampness or rust on the base.
The Temperature and Pressure Relief (TPR) valve, the tiny lever that has the hose connected to it on the side, is a key safety check. A burst of hot water should be released if you lift it. If it’s stuck or leaking, that tank could theoretically become a rocket. Also, listen to the tank when it’s heating. If it sounds like someone is boiling gravel, that’s sediment buildup. A company like Fuse Service can help flush the system, but if the sediment is too thick, it might be time for a new unit.
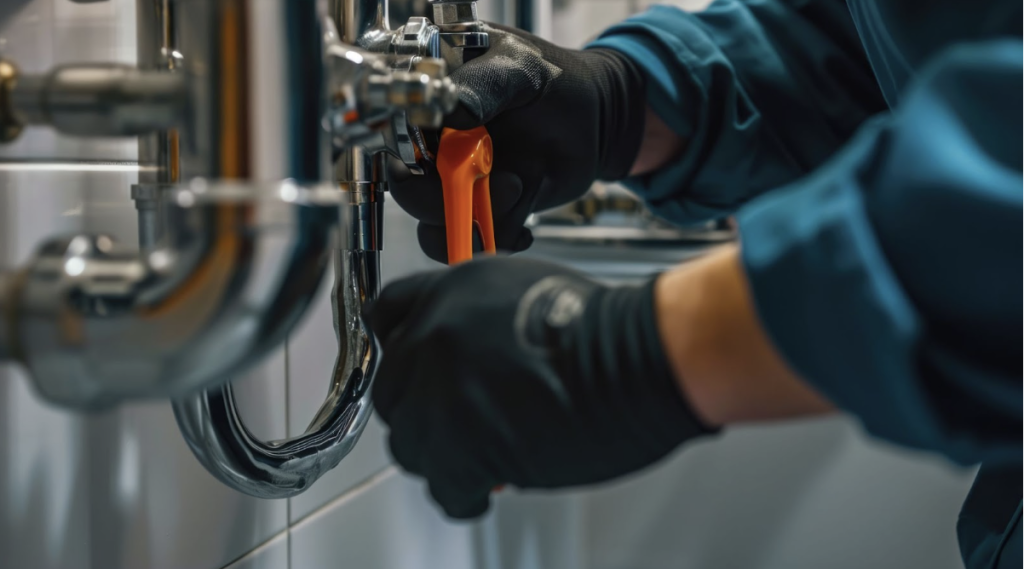
Check Shut-Off Valves and Cleanouts
Because a pipe bursts and the main valve has rusted shut, the water cannot be turned off. A frightening situation. A homeowner’s plumbing checklist should have a point about physically turning all shut-off valves, the main entrance, the ones under sinks and toilets, as well as under the toilets, to make sure they still move.
Remember to clean out your sewers. Usually, they are the plastic caps that stick out of your yard. Make sure there are no bushes or mulch covering them. A plumber must locate those caps right away if your main line fails. If you are unable to locate yours, you may encounter difficulties in the event of an emergency.
Look for Signs You Need a Professional Inspection
That said, DIY only goes so far. Sometimes the signs are subtle but serious. You have a slab leak or a pinhole leak in the wall if you discover that your water bill has increased without cause or if you hear a slight hissing sound behind a wall when there is no water flowing.
Additional warning signs include rust-colored water, a sharp decrease in the amount of time that hot water is available, or continuous gurgling in the pipes as the dishwasher drains. These are signs of a malfunctioning system, not just peculiarities of an ancient property. A professional plumbing inspection checklist performed by a pro often involves camera equipment that can see things you simply can’t.
In conclusion
A degree in engineering is not necessary to keep up with your plumbing; it only takes a little attention to detail. You may find a $10 leak before it becomes a $10,000 restoration project by doing a home plumbing inspection once every few months for an hour. Take care of your pipes, and they’ll take care of you.
Author

Written by
Recent Posts

Rebecca Minkoff and RummiKlubLA Celebrate Their First-Ever Collaboration at The Maidstone Hote
5 Apps That Make Your Beauty Routine Smarter

Strategic Edge Why Precision and Speed in Modern Fabrication are Non Negotiable for Top Performance
9 Interior Design Details That Make a Home Feel More Thoughtful

Evil Eye Bracelet vs Evil Eye Anklet: Which One Is Right for You?
Categories
- Art
- Articles
- Business of Luxury
- Celebrities
- Entertainment
- Events
- Faces of Summer 2026
- Fashion
- Fashion & Style
- Featured
- Finance
- Food, Spirits, Wine
- Hamptons
- Hamptons Celebrities
- Health
- Health & Beauty
- Lifestyle
- Luxury Lifestyle
- Press
- Profiles
- Real Estate
- Technology
- The Chronicles
- Travel
- Uncategorized
- Weddings